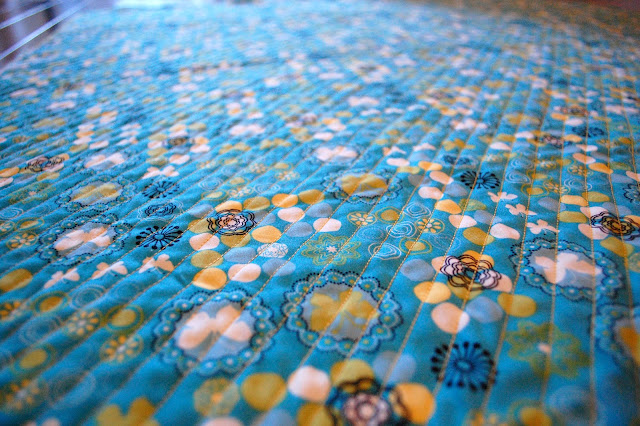
At one point I considered attempting a quilt which I've never tried before but then I found a blog about the faux chenille blanket and I was hooked. Here is the beautiful blanket from Anneliese's blog "Aesthetic Nest" that inspired me to make one for my sister-in-law.
At Fabricland I had a hard time choosing between two beautiful patterns for the top layer. One was similar to the blog, peachy-pink in colour and quite girly which is perfect since my brother is expecting a girl. But then I also found a vibrant blue fabric along with the matching cotton flannels. In the end I chose to go with blue since it was very pretty but not overwhelmingly feminine. I expect there may already be too much pink coming their way at the baby shower. Altogether there are three layers of flannels - blue, white, and greenish-yellow.
At Fabricland I had a hard time choosing between two beautiful patterns for the top layer. One was similar to the blog, peachy-pink in colour and quite girly which is perfect since my brother is expecting a girl. But then I also found a vibrant blue fabric along with the matching cotton flannels. In the end I chose to go with blue since it was very pretty but not overwhelmingly feminine. I expect there may already be too much pink coming their way at the baby shower. Altogether there are three layers of flannels - blue, white, and greenish-yellow.
I began the project with sufficient warning from the blog that sewing lines for hours would be a tedious task but I was prepared to go for it. Here I am still fresh after sewing only 3 measly lines through the blanket.
I basically followed the instructions laid out in the blog so I don't need to repeat any steps here. I must be a much slower sewer than Anneliese because the process of sewing straight lines took me closer to 7 hours than 4-5. I guess I was just being overly cautious in the beginning and really took my time. Eventually I got better (or less patient) so the sewing ramped up over time. I can't say the lines are all that even or parallel but if you look at the blanket as a whole, it's not obvious.
I basically followed the instructions laid out in the blog so I don't need to repeat any steps here. I must be a much slower sewer than Anneliese because the process of sewing straight lines took me closer to 7 hours than 4-5. I guess I was just being overly cautious in the beginning and really took my time. Eventually I got better (or less patient) so the sewing ramped up over time. I can't say the lines are all that even or parallel but if you look at the blanket as a whole, it's not obvious.
 |
| Lines complete after 7 hours |
 |
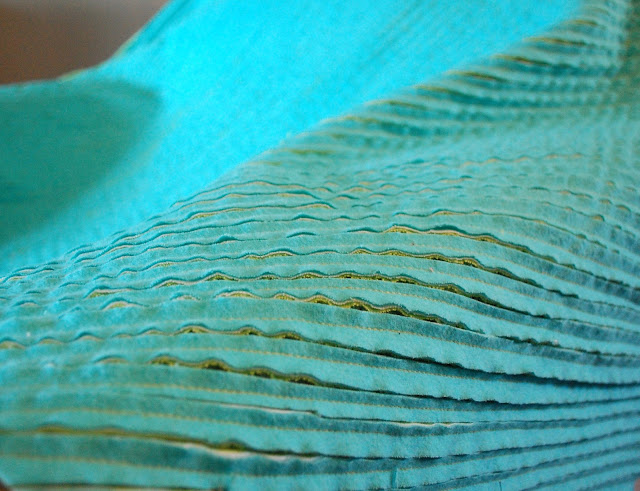
| Back side of blanket |
 |
| Chenille cutter with 4 settings |
I was a little nervous throwing the whole blanket into the wash after completing my hours of sewing since I had not pre-washed any of the fabrics. I chose a gentle cycle with cold water and then tossed it in the dryer on the low heat setting. When the dryer buzzer rang out I was delighted to see how nicely the whole thing had fluffed up! You should have seen how much fuzz was in the fuzz catcher!
I definitely plan on making another chenille blanket for our own little one, possibly over Christmas time. It's a simple enough project as long as you have the patience, and it produces fantastic results! I ended up using two full spools of golden thread...400m of thread total! Now that's allota lines!


Looks beautiful! Thank you for sharing it with me. -Anneliese
ReplyDeleteGorgeous! I'm plucking up the courage to try one...eeeeek!
ReplyDeleteDefinitely do! And then send me some photos of it :) It's not a difficult project, just one that needs some patience and endurance - haha. But the results are quite beautiful. Good luck Mika!
Delete